Vaporizer Temperature Control Checklist
Temperature control starts with the reading
You set your portable vaporizer to the usual temperature, wait for it to heat, and take a draw. The vapour feels weak, the hit turns harsh, or the session seems different from the number glowing on the screen. A vaporizer temperature control checklist helps you test why.
Most vaporizer buyers don’t have a temperature-range problem. They have a temperature-control problem. A number matters only when the device can reach it, regulate it, display it clearly, and repeat it during real use. That applies to dry-herb vaporizers, extract vape pens, and advanced dab devices alike.
What the checklist tests
Use the checklist to assess usable range, preset accuracy, adjustment method, display, heat-up behaviour, and session performance. It helps you compare options at PlanetHaze, although product information can’t replace hands-on testing. You can then judge temperature claims through repeatable checks rather than another boiling-point chart, before relying on a device for discreet daily use or choosing one for your collection.
Why Cannabis Vaporizer Temperature Control Changes Every Session
A low, medium, or high setting changes more than vapour volume. It also affects flavour, perceived harshness, and how fully your material extracts. When your device runs cooler than its display suggests, you may get thin vapour and leave usable compounds behind. When it overshoots, your vapour can feel harsh and move closer to combustion.
Separate the number on the screen from the heat reaching your herb or concentrate. PlanetHaze product information helps you compare vaporizers, and its guide to choosing a vaporizer can help you compare heating features, although specifications can’t confirm the material’s actual temperature during your session. Temperature control is therefore a practical test, not just a feature to tick off.

How do Celsius and Fahrenheit settings affect temperature checks
Vaping360 explains that temperature-control hardware may offer a selectable range from 300°F to 600°F (100°C to 315°C). Use that broad range to understand a device’s adjustment scope, but don’t treat every selectable number as a verified chamber temperature. A displayed setting is a target. Airflow, heating design, load size, and draw speed affect what your material actually experiences.
At the lower end, you may notice lighter flavour and thinner vapour. In the middle, you may find a useful balance between taste and extraction. At the higher end, you may produce denser vapour, but harshness can rise quickly if the device delivers more heat than expected.
Weak check: “The Nova Air Pro shows 200°C, so the herb is definitely receiving 200°C.”
Strong check: “Set the Nova Air Pro to 200°C, then compare vapour density, flavour, and harshness across repeatable draws.”
What happens near the 229°C combustion boundary
Combustion may begin near 229°C (445°F), depending on the material and conditions. Treat that figure as a safety boundary, not a recommended setting, and follow your device manual before testing higher temperatures. A device that overshoots near this point may produce burnt flavour or unwanted smoke instead of controlled vapour.
“Treat the displayed setting as a target to verify, not proof of the material’s actual temperature.”
That keeps the Vaping360 range in context. You’re checking behaviour, not chasing the highest number.
How can you verify vapour behaviour before increasing heat
Before raising your setting, check whether thin vapour comes from a cool chamber, a restricted airflow path, a small load, or a slow heat response. You may need to clean and maintain the device instead of adding heat. This matters when you compare portable vaporizers, extract vape pens, and dab devices through PlanetHaze, because each heating system can respond differently at the same displayed temperature.
Practical rule: Confirm heat-up behaviour, vapour density, flavour, and harshness before increasing the displayed temperature.
Once you know the result depends on more than the number, the control route matters. Presets, button adjustments, and app-based controls give you different ways to test that target.
Choose the Control Route for Your Cannabis Vaporizer
A low, medium, and high comparison doesn’t tell you how easily you can reach or repeat a setting. First choose the control system itself: preset-only, stepped, or finely adjustable. That choice affects how quickly you start, how discreetly you make changes, and how closely you can repeat a session.
PlanetHaze shoppers should check each model’s manual and specifications rather than assume every screen setting represents the same real temperature. More adjustment may improve repeatability, but it also creates more decisions and doesn’t guarantee accurate heating.

Preset-only control for fast, repeatable sessions
A preset-only vaporizer suits you when speed matters more than fine testing. Select a named option, let the device heat, and start without comparing several small temperature changes. This route works well for portable use, especially when you want discreet controls and a simple routine.
Check what each preset represents, whether the device remembers your last choice, and whether the preset names describe temperature or only a general session style. A clear preset is useful. An unexplained colour or icon isn’t.
Stepped control for low-to-high extraction
Stepped control suits you when you want to begin with flavour and finish with fuller extraction. You move through defined temperatures rather than guessing between broad presets. Confirm that the increments suit your material and that you can change them without opening an app or drawing attention to the device.
Fine adjustment for users who test small temperature changes
Fine adjustment suits hobbyists who compare flavour, vapour density, and extraction in small increments. It can also help you build a repeatable routine for concentrates, provided the device heats consistently. More choices can slow a session, so confirm that the display stays readable and the setting remains saved.
Weak example: Set the Aurora Mini to medium and expect the same result each time.
Set the Aurora Mini to 190°C: Record the setting, heat-up behaviour, flavour, and vapour result before testing 195°C.
What works
- Simple routine: Preset-only control reduces decisions when you want a quick session.
- Temp-stepping: Stepped controls let you move from a flavour-focused start to fuller extraction.
- Repeatable testing: Fine adjustment helps you compare small changes when you record each setting.
- Discreet changes: Physical buttons may be easier to adjust privately than an app-based control.
What fails
- Unclear presets: Vague names make it difficult to repeat a preferred session.
- False precision: A detailed screen doesn’t prove that the heater reaches the displayed temperature.
- Too many decisions: Fine controls may frustrate you when speed matters more than testing.
- Lost settings: A device that forgets your selection can undermine an otherwise useful control route.
| symptom | likely cause | first fix |
|---|---|---|
| You want the quickest possible session | A preset-only device may be easier than navigating multiple temperature options | Choose a clearly defined preset route and confirm what each preset is intended to do |
| You want to begin low and finish higher | A preset-only device may not provide enough control for temp-stepping | Look for stepped temperatures with clearly identified increments |
| You compare flavour and extraction in small increments | Broad presets can make repeatable experiments difficult | Choose finer adjustment and record the selected setting and session result |
| You want convenience but also consistency | More controls may add complexity without improving calibration | Prioritize documented accuracy, readable controls, and repeatable heat-up behaviour |
Prepare Your Cannabis Vaporizer Temperature Control Checklist
Before heating your device, create a worksheet that separates advertised control from useful control. Your product page or manual should provide enough detail to record the settings, material, and session purpose before the first draw.
This takes a short, uninterrupted pass. You’ll then have a baseline for judging whether your vaporizer suits discreet portable use, longer home sessions, or concentrate work.

Record the device specifications and manual instructions
Start with the manufacturer’s stated information, not assumptions based on the screen. Record the minimum and maximum temperatures, preset names, adjustment increments, and heat-up behaviour. Also note whether the displayed value means a set point, chamber temperature, coil temperature, or another estimate.
Weak entry: “The Ember Trail has low, medium, and high settings.”
Record it clearly: Ember Trail: 180°C to 220°C, three presets, 5°C increments in manual mode, OLED shows the selected set point, and the manual says the device vibrates when ready.
Define the material and session goal
Your material determines which controls matter. Mark whether you’ll test dry herb, concentrate, or a compatible cartridge. Then identify the session you expect: discreet portable use, a longer home session, or an advanced dab setup.
- Material: Record dry herb, concentrate, or cartridge compatibility before loading anything.
- Session: Choose discreet portable use, a longer home session, or an advanced dab setup.
- Control route: Select presets for convenience, or stepped adjustment when you need to compare small temperature changes.
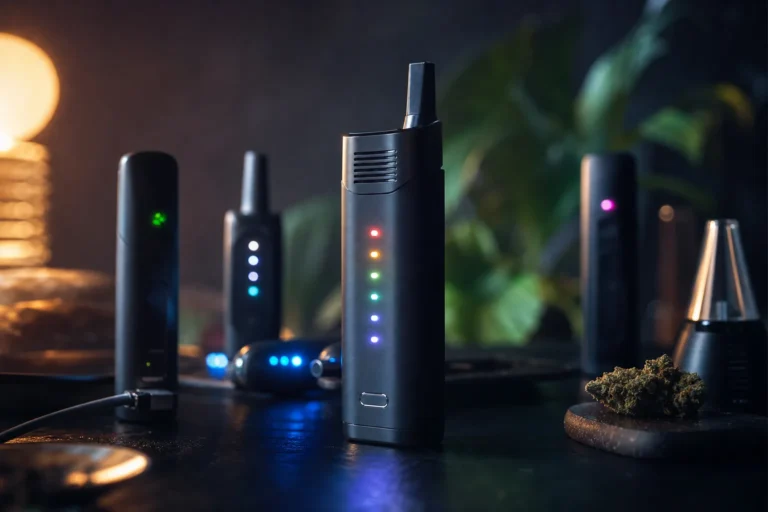
- Readability: Note whether you can read the display outdoors, in low light, and while holding the device discreetly.
A broad range isn’t automatically useful. Tiny increments may slow a simple session, while a difficult display can undermine otherwise precise control. If your device uses a cartridge, confirm that its recommended operating range matches the vaporizer rather than treating every setting as suitable.
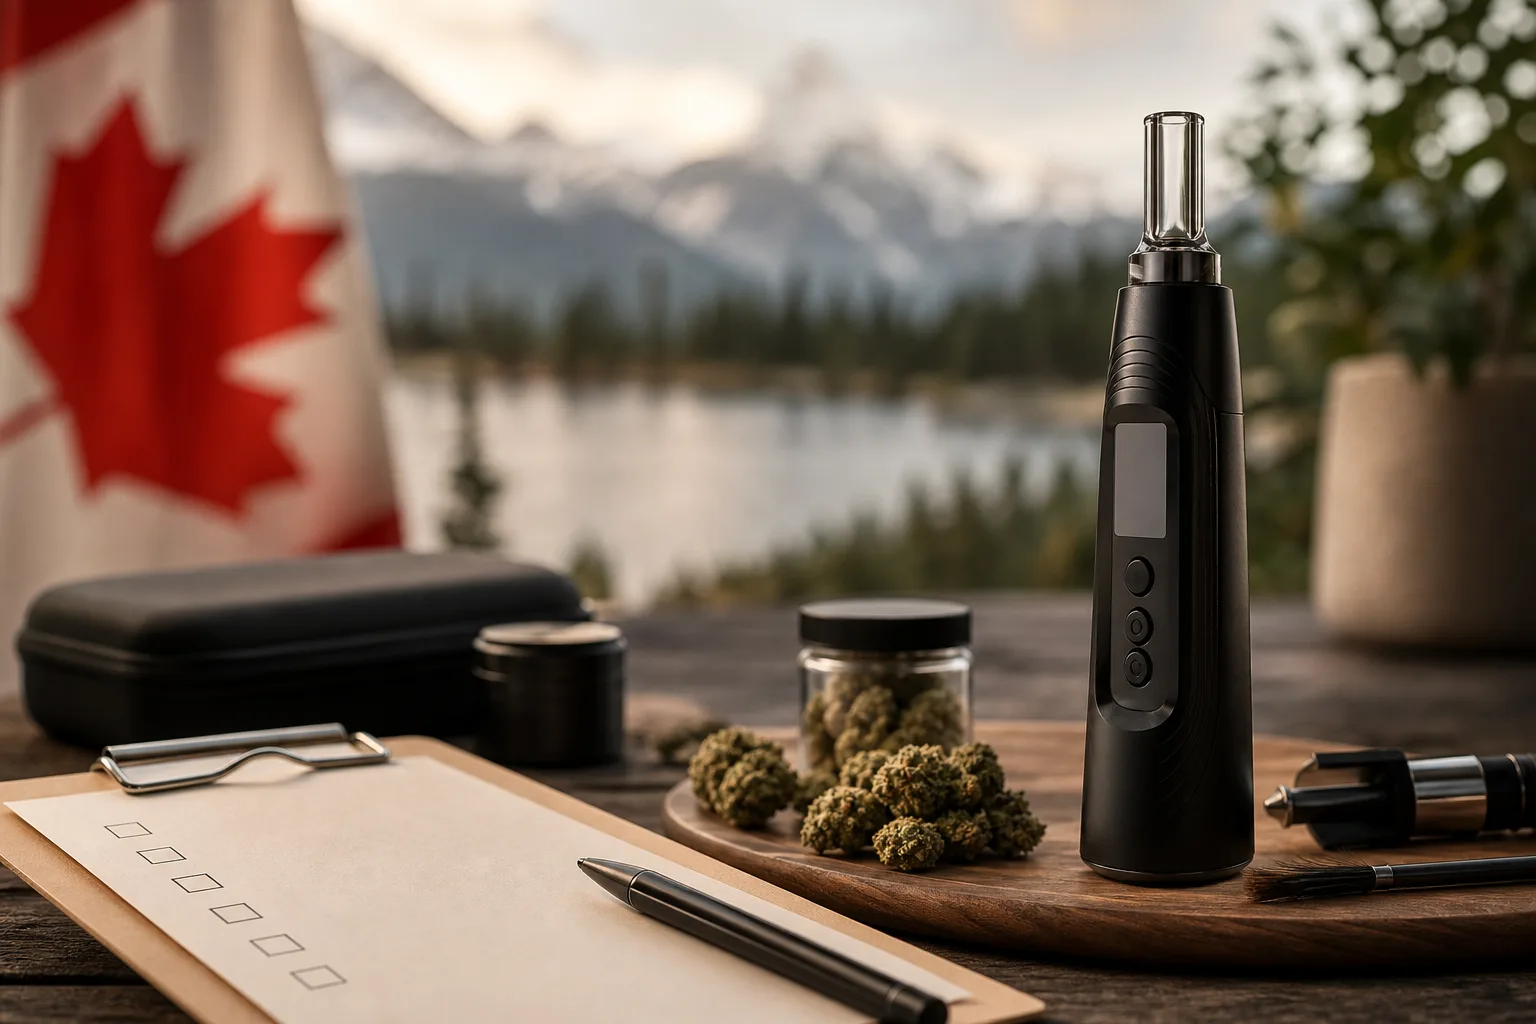
Mark the six pass-or-fail criteria
Use the completed worksheet as your test baseline. Your device passes only when its stated controls support the session you actually want.
- Range: The stated minimum and maximum suit your material and intended session.
- Presets: Each preset has a documented purpose you can understand.
- Increments: The adjustment steps are fine enough for your planned comparisons.
- Display: You can identify the selected setting without guesswork.
- Heat-up: The device gives a clear, repeatable ready signal or timing instruction.
- Practical use: The controls remain workable during a discreet portable, home, or dab session.
Keep the worksheet beside your device. It gives the test a fixed starting point instead of letting one strong or harsh session decide the result.
Run the Six-Point Temperature-Control Test in Order
Your worksheet gives you a target, but a target alone can’t show whether your vaporizer delivers a repeatable session. Test the controls in the order you use them, from range selection to the final draw.
Run the same checks with the same material and load size. That keeps one strong or harsh session from disguising a control problem.
| priority | what to check | why |
|---|---|---|
| 1 | Confirm the usable temperature range for the material and session goal | A stated range is only useful when it covers the way you intend to vape |
| 2 | Compare a selected preset with the value shown or stated by the manufacturer | Preset labels can hide differences in actual control or calibration |
| 3 | Test buttons, a dial, an app, or preset cycling for adjustment accuracy and ease | The adjustment route determines whether repeatable temp-stepping is practical |
| 4 | Read the display during setup, heating, and use | A clear display helps prevent accidental settings and confirms device status |
| 5 | Time heat-up and watch for overshoot, uneven heating, or unclear readiness signals | Heat-up behaviour changes both convenience and the temperature reached by the material |
| 6 | Run a realistic session and compare vapour and flavour with the selected goal | Practical performance reveals problems that specifications alone can’t show |

1. Confirm the stated temperature range
- Set the usable range: Choose a low, middle, and high point suited to your flower, concentrate, or extract pen. Pass when all three settings fit your intended session. If the range misses your target, stop testing and choose another device.
- Record the purpose: Write down whether each point is for flavour, denser vapour, or a longer extraction. Pass when you can explain why each setting exists.
2. Check preset accuracy and adjustment increments
- Compare the preset: Select one advertised value, such as 190°C, and record the value shown or stated in the manual. Weak setting: “Medium feels about right.” Strong setting: “190°C, 10-second heat-up, flavour-focused draw.” Pass when the preset is clearly identified and repeatable. If it isn’t, mark that preset as approximate.
- Test each increment: Move one step up and down using buttons, a dial, an app, or preset cycling. Pass when you can return to the same value without losing the session. If the steps are too large, record the nearest usable setting.
3. Evaluate the display and heat-up behaviour
- Read the status: Check temperature, battery, lock status, and heat state during setup and use. Pass when you can read each item without guesswork. If glare, small text, or cycling screens hide information, test the device only in conditions where you can verify it.
- Time the heat-up: Note the start time, ready signal, overshoot, cooldown, and any uneven heating. Temperature-control systems may track resistance changes to estimate coil temperature and regulate power, according to Vaping360, but that doesn’t prove the chamber or material reaches the exact displayed value. Pass when readiness is clear and repeatable. If timing varies, wait for the same signal before every draw.
4. Test practical use with a real session
- Run the session: Use the device as you normally would, then compare vapour, flavour, harshness, and extraction with your recorded goal. Pass when the result matches the selected setting across two sessions. If it doesn’t, inspect the load, airflow, battery, and cleaning before blaming the temperature control.
- Range: The chosen settings suit your material and session.
- Accuracy: A selected value is identifiable and repeatable.
- Adjustment: You can change temperature without disrupting use.
- Display: Device status remains visible when you vape.
- Heat-up: The ready signal and timing stay consistent.
- Session: Vapour and flavour match the intended result.
Diagnose the Session That Doesn’t Match the Setting
Your screen may show the familiar temperature while your session feels weak, harsh, or unpredictable. Don’t treat that number as conclusive proof of the material’s actual temperature. It may show a target, an estimate, or a control value that changes under load.
Before raising the heat, isolate one cause at a time. Your material, airflow, battery, draw, heat-up routine, and device design can all change the result.
Weak Vapour at a Familiar Temperature
If your vapour feels thin, check preparation and heat-up before blaming accuracy. Coarse or damp material may heat unevenly, while a loose load, restricted airflow, or an incomplete heat-up cycle can reduce vapour at the same displayed setting.
- Weak example: Set the device to 195°C, take a draw immediately after the vibration, and increase it when vapour feels light.
- Strong example: Set the device to 195°C, wait through the full ready cycle, use a consistent load, and retest at 195°C before changing the temperature.
Check the battery level and airflow next. A device that undershoots under load needs a different diagnosis from material that simply hasn’t heated through. PlanetHaze carries portable vaporizers with different heating designs, but no product screen alone proves the temperature inside your load.
Harsh Vapour Below the Combustion Ceiling
Harshness at a moderate displayed setting can indicate overshoot, a dirty air path, excessive packing, or continuous conduction heat. Your load may keep heating between draws, even when the screen remains unchanged.
Clean the mouthpiece and air path, improve airflow, then retest at a lower setting with a slower draw. A companion guide to checking clogged vaporizer airflow fits this diagnostic step when resistance feels higher than usual.
Inconsistent Results Between Sessions
Session-to-session changes often come from uneven packing, draw speed, battery condition, or uneven heat distribution. Convection devices depend more on heated airflow, while conduction devices transfer heat directly through the chamber and may respond more strongly to load contact.
- Change one variable: Keep the load, draw, and setting consistent while you retest.
- Check concentrates: Confirm hardware compatibility, clean the coil, and follow the correct loading and heat-up routine.
- Record the result: Note battery level, heat-up behaviour, vapour, flavour, and harshness for each test.
| symptom | likely cause | first fix |
|---|---|---|
| Weak vapour at the displayed setting | The device may be undershooting, or the material may be damp, too coarsely prepared, loosely loaded, or not fully heated | Allow the complete heat-up cycle, check preparation and airflow, then retest at the same setting before increasing temperature |
| Harsh vapour despite a moderate displayed setting | Temperature overshoot, a dirty air path, excessive packing, or conduction heat may be raising the delivered heat | Clean the device, improve airflow, and retest at a lower setting with a slower draw |
| Vapour changes from one session to the next | Battery level, load consistency, draw technique, or uneven heat distribution may vary | Use a consistent load and draw, charge the device, and record heat-up time and vapour result |
| The screen value looks correct but the experience remains wrong | The display may show a control target or estimate rather than the material’s actual temperature | Treat the number as a target, verify heat-up behaviour, and compare results across a lower controlled setting |
| Concentrate vapour is weak or burnt | The device may be incompatible, the coil may be dirty, or the heat-up routine may not suit the extract | Confirm compatibility, clean or replace the relevant part, and follow the manufacturer’s loading and heat-up guidance |
Measure Whether Your Cannabis Vaporizer Temperature Control Checklist Produced a Reliable Session
A familiar temperature number doesn’t prove that your vaporizer behaved consistently. Record what happened during the session instead of relying on whether one draw felt acceptable.
A pass means you see repeatable results across at least two comparable sessions. A fail means one controlled retest comes next, not an immediate verdict on your device or material.
Check control consistency across two sessions
Use one worksheet row for each test. Record the selected setting, material type, battery level, heat-up time, vapour result, and notes about flavour or harshness. Keep the load and draw technique as similar as possible, so you’re testing the control rather than changing several conditions at once.
Weak record: “Medium setting, decent vapour.”
Strong record: “175°C, dry herb, battery at three-quarters, heat-up in 35 seconds, visible vapour on both draws, mild flavour, no throat irritation.”
- Setting reached: The device reaches the selected temperature in both comparable sessions without an unexplained delay or reset.
- Display readable: You can read the temperature or preset during use without guessing from a dim, hidden, or poorly timed screen.
- Heat-up suitable: The timing fits your intended session, whether you need a discreet portable draw or a longer session at home.
- Session result matched: Vapour volume, flavour, and perceived harshness fit the goal of the selected temperature.
If all four outcomes repeat, mark the test as a pass. If one outcome fails, record it clearly and retest before changing the device.
Compare the selected setting with vapour quality
Judge the result against the reason for choosing that setting. A lower temperature should preserve a lighter flavour goal, while a higher setting may produce fuller vapour but can feel harsher. Your notes should show whether the result matched the chosen goal, not simply whether vapour appeared.
If battery behaviour seems inconsistent, this guide to why vaporizer batteries drain quickly and how to fix it fits the same testing workflow.
Retest one variable at a time
When a session fails, keep the material, loading amount, draw speed, and battery condition consistent. Retest at a lower setting. If harshness improves, excessive heat or temperature overshoot becomes more likely. If vapour remains weak, inspect the material, loading, airflow, battery, and device compatibility.
Evidence points toward the device when the same material and routine produce different results across comparable sessions. It points toward the material or routine when the device reaches its setting consistently, but changes in moisture, loading, airflow, or draw technique change the outcome.
Cannabis Vaporizer Temperature Control Checklist: Start with the Range, Then Prove the Controls
A wide advertised temperature range can look impressive while giving you little useful control. First check whether the vaporizer suits dry herb, concentrates, or cartridges, then compare its numbers.
Your buying decision becomes clearer when you test the range, feedback, timing, and vapour together. A setting is useful only when you can reach it, read it, repeat it, and connect it to the session you want.
1. Define the session you want
Start by naming your material and purpose. You may want flavour from dry herb, dense vapour from a dab device, or discreet use from an extract vape pen. These formats use different hardware and may respond differently to heat.
Weak example: “This portable vaporizer reaches a high temperature.”
Strong example: “The CedarTrail Mini supports dry-herb sessions with adjustable heat, a readable screen, and a heat-up time that suits short outdoor use.”
2. Complete the six-point control check
Use the exact product specifications or manual for the vaporizer you’re considering at PlanetHaze. Tick each item only when you can verify it.
- Usable range: Confirm the manufacturer’s permitted range for your material and chamber.
- Preset accuracy: Check whether each preset names a temperature or only uses a vague low, medium, or high label.
- Adjustment method: Record whether buttons, a dial, or an app lets you make repeatable changes.
- Display feedback: Confirm that you can read the selected temperature, heating status, and session changes.
- Heat-up behaviour: Observe whether the device reaches temperature steadily or overshoots, cycles, or waits unusually long.
- Practical result: Match the vapour, flavour, harshness, and session length to your stated goal.
Weak example: “The display shows 200°C.”
Strong example: “The Northline Pro displays 200°C, confirms when heating finishes, and lets you adjust in 5°C steps.”
3. Retest before changing devices or temperature
Keep your material, loading amount, draw speed, airflow, and battery condition consistent. Record the setting and outcome before deciding that your vaporizer or temperature is wrong.
If the same routine produces different results, your notes reveal whether the problem follows the device, material, or technique. That evidence is more useful than choosing a familiar temperature by habit.
Start with the product specifications page
- Define the goal: Write down the material, session length, vapour preference, and setting you want to repeat.
- Confirm the range: Check the safe, manufacturer-approved range for your exact hardware.
- Inspect presets: Identify the actual temperatures behind each preset.
- Test control and display: Verify adjustment steps, screen feedback, and saved settings.
- Observe heating: Note heat-up timing, cycling, and any temperature overshoot.
- Validate use: Record whether the vapour matches your goal, then compare models using the completed worksheet.
Start with one product page or manual. A broad range is only a starting point. Reliable control shows up in consistent heating, readable feedback, suitable timing, and vapour that matches your intended session.
PlanetHaze offers dry-herb vaporizers, dab devices, extract vape pens, glassware, and accessories for adult Canadian consumers. Its news and educational updates can help you compare products and use them with more confidence.