How to Clean a Vaporizer Mouthpiece
You take a pull before work, but the draw feels tight, the flavour tastes stale, and sticky residue catches on your lips. A speck of debris may even touch your mouth. You pull harder, then wonder whether your portable vaporizer or extract vape pen is failing. If you’re learning how to clean a vaporizer mouthpiece, start by checking whether it comes off and what material it uses.
Most vaporizer users don’t have a device problem. They have a mouthpiece-maintenance problem. Warm vapor can condense on cooler surfaces and leave resin behind, restricting airflow and changing the taste. The manufacturer’s instructions decide which cleaning method is safe, especially around electronics, plastics, seals, and screens. Whatever method you use, make sure every loose part is completely dry before reassembly and finish with an airflow check.
Clean the Mouthpiece Before Residue Changes the Draw and Flavour
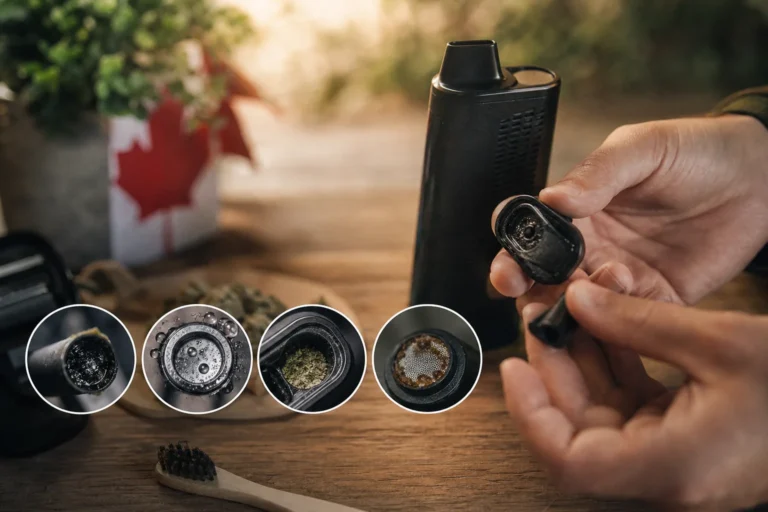
A tight draw, stale flavour, or sticky mouthpiece usually starts with warm vapour meeting cooler glass, plastic, or metal. Condensation forms, leaving resin along the mouthpiece and nearby vapour path.
If you leave that residue in place, you may pull harder for less vapour, taste something unpleasant, and face a deposit that takes longer to remove. Cleaning is performance maintenance, not cosmetic housekeeping. Identify the material and access route before choosing a solvent or soak.

What buildup changes during a session
Restricted airflow is often the first sign. The draw feels uneven or unusually hard, while the vapour develops a stale, bitter, or chemical-like taste. Research-based maintenance guidance links residue buildup with restricted airflow and unusual or unpleasant taste.
The physical cause is simple. Warm vapour cools against the mouthpiece, screen, and vapour path, then condenses into sticky resin. If you keep using the device without cleaning, that film can thicken and become harder to remove.
“Warm vapour meeting cooler surfaces can condense into sticky resin.” The research-based maintenance guidance uses this principle to explain why regular cleaning protects airflow and flavour.
The 30-to-60-minute soak is only for compatible loose parts
A documented planning reference allows a 30-to-60-minute soak for compatible removable parts. Treat that range as a starting point, not a universal instruction. The manufacturer’s material guidance takes priority, especially with plastics, painted surfaces, silicone, glued parts, and coated screens.
Weak example: “Soak the Northstar Mini in isopropyl alcohol for 60 minutes.” You risk damaging the powered body, seals, or a mouthpiece that was never approved for that solvent.
Strong example: “Remove the Northstar Mini glass mouthpiece, check its manual, and soak only that approved loose part for 30 minutes.” Extend the time only when the material instructions permit it.
The rule that protects electronics, plastics, silicone, and seals
Your powered vaporizer does not belong in a cleaning bath. Keep liquid and solvent away from the battery, charging port, controls, heating chamber, and internal electronics. Even a removable mouthpiece may contain a seal or screen that needs a different method.
Practical rule: Soak only a compatible, removable part, and follow the manufacturer’s material instructions before using any solvent.
If you are unsure whether a tight draw comes from residue or another fault, this Checklist for Clogged Vaporizer Airflow fits the same maintenance workflow. Identify the mouthpiece material and access route before choosing how to clean it.
Choose the Cleaning Route by Mouthpiece Material and Access
A safe cleaning method depends on more than the residue. The mouthpiece’s material, removable design, and connection to the powered device determine whether water, solvent, or a dry clean belongs in the process.
Warm soapy water suits some washable parts, while isopropyl alcohol belongs only on materials the manufacturer approves. Check both the material and access route first to avoid damaged plastic, swollen seals, or liquid inside the device.
| situation | better move |
|---|---|
| Removable glass, metal, or ceramic mouthpiece or vapor-path part | Use warm soapy water or a manufacturer-approved solvent treatment, then rinse or wipe as appropriate and dry completely. |
| Removable silicone O-ring or soft rubber component | Do not soak in alcohol unless the manufacturer specifically permits it; clean according to the device instructions. |
| Plastic component with uncertain solvent compatibility | Keep it out of the solvent and follow the manufacturer’s material guidance. |
| Mouthpiece fixed to the powered device | Use a dry or lightly damp external clean and prevent liquid from entering the device. |

Removable glass, metal, or ceramic parts
If you can remove a glass, metal, or ceramic mouthpiece, you have the widest choice of methods. Warm soapy water is a useful starting route for compatible parts. Isopropyl alcohol or another solvent may suit stubborn residue, but only when the device instructions permit that material and treatment.
Compatible removable mouthpieces and vapor-path parts may require a soak of 30 to 60 minutes. Follow the manufacturer’s instructions, especially when a screen, seal, or coating remains attached.
Plastic, silicone, and O-ring components
Plastic and soft components require more restraint. Silicone O-rings, soft rubber, and some plastics may swell, cloud, crack, or lose their fit after solvent exposure. Don’t place them in an alcohol bath unless the manufacturer specifically allows it.
Remove an O-ring only when your manual shows how. Otherwise, you risk stretching it during cleaning and creating a leak during your next session.
Non-removable mouthpieces and powered devices
A fixed mouthpiece changes the route completely. Keep the powered device out of any bath and use a dry cloth or a lightly moistened cotton swab on reachable exterior residue. Keep liquid away from the battery, charging port, controls, and heating chamber.
When the manual is unclear, stop and confirm the material before applying solvent. Soak only a compatible removable part, never the powered device itself.
Gather the Materials for a Cannabis Vaporizer Mouthpiece Clean
Preparation keeps a quick mouthpiece clean from turning into a parts-recovery job. You need a clear surface, basic tools, and enough time to keep wet components away from your vaporizer’s battery and controls.
Your material and access check decides the route. A fixed mouthpiece usually needs a controlled wipe, while a compatible removable part may need a 30-to-60-minute soak, rinsing, and complete drying before use.

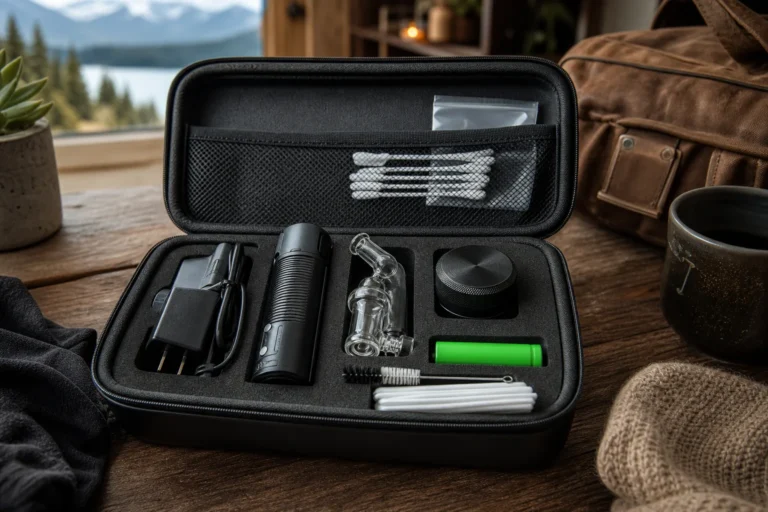
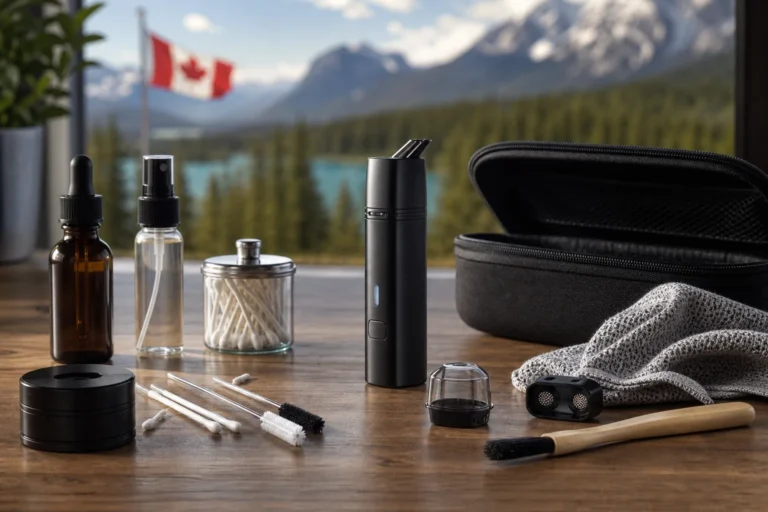
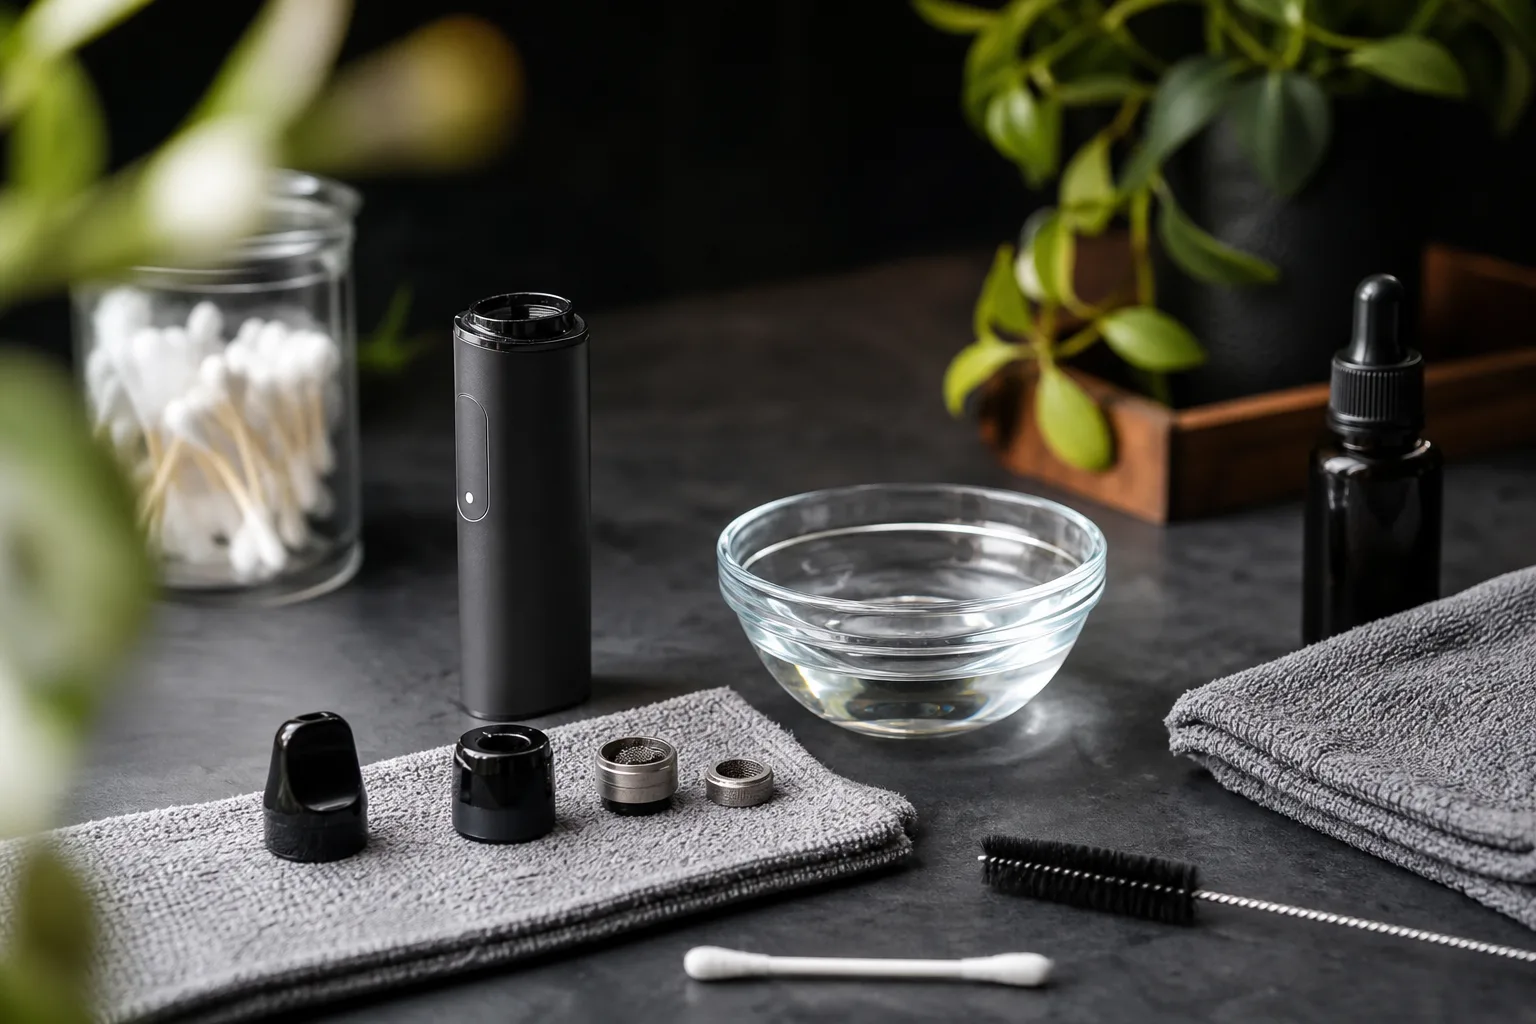
Materials for a light clean
Set everything within reach before disturbing any residue. You can then work without placing a damp mouthpiece beside loose screens, seals, or charging equipment.
- Clean work surface: Use a dry, uncluttered area where small parts cannot roll away.
- Cotton swabs: Keep fresh swabs ready for narrow channels and reachable fixed-mouthpiece residue.
- Soft brush: Choose a gentle brush that will not scratch glass, plastic, or coated metal.
- Paper towels: Place several clean towels nearby for blotting and air-drying parts.
- Warm water: Use warm, not boiling, water for compatible washable components.
- Mild soap: Have a small amount ready for a compatible wash route.
- Approved cleaning solution: Use solvent only when your manufacturer permits it for that specific material.
If airflow already feels restricted, this companion clogged vaporizer airflow checklist fits the same preparation workflow.
Checks before removing any part
Power down your vaporizer and let it cool fully before cleaning. Remove it from charging, then identify the mouthpiece, vapor-path parts, screens, and O-rings that the manual allows you to separate.
- Power state: Confirm the device is switched off, unplugged, and cool to the touch.
- Immersion limits: Mark the powered body, battery area, charging port, controls, and any part the manual excludes from liquid.
- Part layout: Photograph seals, screens, and small fittings before removal so you can match their original positions.
- Material separation: Keep silicone O-rings and plastic components away from alcohol-soak parts unless the manufacturer specifically approves contact.
How to tell whether you need a wipe, wash, or soak
Choose a wipe when the mouthpiece is fixed or when residue sits only on an accessible exterior. Use a cotton swab or soft brush with minimal moisture, keeping liquid away from the powered device.
Choose a wash when a removable part is confirmed compatible with warm water and mild soap. Rinse away all soap, then dry the part completely before reassembly.
Choose a soak only when the removable material and manufacturer instructions allow the approved solution. Plan for 30 to 60 minutes, followed by rinsing and full drying. Never treat every mouthpiece as soak-safe.
Clean, Dry, and Reassemble the Mouthpiece in Five Controlled Steps
With the material and access route confirmed, keep the clean deliberate. Remove residue without sending solvent into electronics, softening seals, or scratching the mouthpiece.
Inspect each part as you go. The mouthpiece is ready when no residue remains, airflow is open, and no cleaning smell lingers after drying.

1. Power down, cool, and separate the mouthpiece
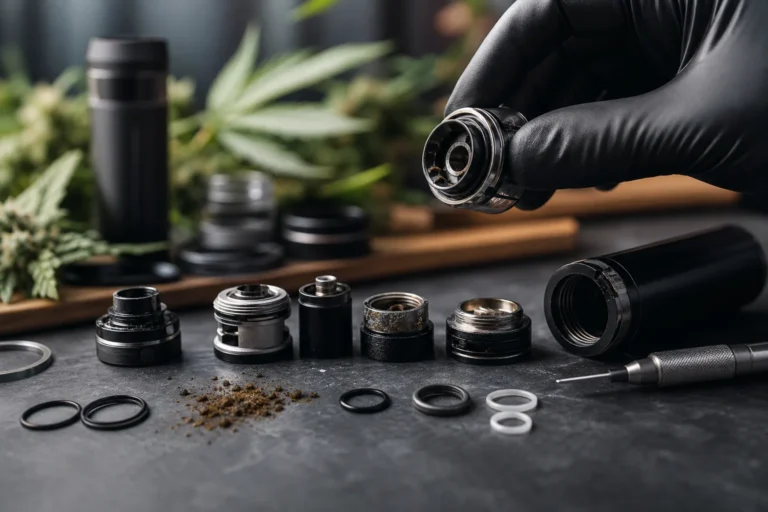
Turn off your vaporizer, disconnect the charger, and let the device cool fully. Remove only parts designed to come off. Keep screens, O-rings, and small seals together so you can return each one to its original position.
Done looks like a cool, powerless device with removable components separated. Do not twist a fixed mouthpiece or force a press-fit connection. That can damage the housing before cleaning begins.
2. Clear loose debris before applying liquid
Use a dry cotton swab, cleaning brush, or soft pipe cleaner to lift loose particles from the mouthpiece and vapor path. Turn removable parts over and tap them gently over a clean surface. For a fixed mouthpiece, keep the device positioned so debris falls away from the electronics.
Done looks like no loose crumbs or flakes remain. Avoid pushing residue deeper into a screen or airway, where it can restrict the next draw.
3. Clean the material-appropriate surfaces
For a removable part, use warm water and mild soap only when the material and manufacturer instructions permit it. Use an approved cleaning solution only where the part is compatible. For stubborn buildup on the device, use a lightly dipped cotton swab, never a dripping one.
Keep alcohol or other solvent away from incompatible plastics, coatings, seals, and electronics. A fixed mouthpiece needs a dry or lightly damp tool, not a soak. Flooding can move liquid into the powered device.
4. Rinse or wipe, then dry completely
Rinse compatible removable parts thoroughly, or wipe them until no soap or cleaning solution remains. Place cleaned parts on a paper towel in a ventilated area and leave them until completely dry. Wipe a fixed mouthpiece with a clean, dry swab after its light damp clean.
Done looks like no moisture, residue, or cleaning smell. Reassembly while a part is damp can trap liquid against a seal or inside the vapor path.
5. Reassemble and check the draw and seals
Use this final checklist before your next session:
- Dryness: Every part feels and looks fully dry.
- Seals: Each O-ring sits in its original groove without twisting.
- Screens: Each screen is clean, correctly positioned, and not blocking the airway.
- Connection: The mouthpiece fits securely without forced pressure.
- Airflow: A gentle test draw feels open, with no liquid or solvent smell.
If the draw remains restricted, stop and inspect the seal, screen, and connection again. A clean mouthpiece should be secure, dry, and unobstructed.
Handle Stubborn Resin and Fixed Mouthpieces Without Escalating the Damage
Sticky concentrate residue can remain inside a narrow air channel even when the outer mouthpiece looks clean. You may feel the blockage on every draw, yet pushing harder with a pick can scratch the passage, damage a screen, or drive resin deeper.
The safest method depends on access and material, not on how stubborn the resin looks. Repeated gentle passes take longer, but they help preserve the mouthpiece, seals, and airway.
When a narrow air channel stays blocked
Switch off your vaporizer, let it cool, and use the smallest suitable brush or cotton swab. Keep each pass light and controlled. If the channel accepts a swab, use a barely damp tip, then follow with a dry one. Lift residue out rather than packing it against the screen.
Never force a metal pick through a restricted passage. Aggressive scraping can damage delicate screens, seals, or the mouthpiece surface. If you use a wooden tool, keep it for accessible residue only, and stop when resistance increases.
How to clean around a fixed mouthpiece
A fixed mouthpiece needs a restrained approach because liquid can travel into the powered device. Keep your cleaning tool only lightly damp, wipe accessible surfaces, and hold the device so moisture moves away from its electronics. Do not pour alcohol or cleaning solution into the airway.
Give the area full drying time before use. If the mouthpiece has a screen that you cannot remove, clean around it rather than levering it out. You can inspect the airway with a light, but do not insert a tool far enough to touch hidden components.
For seals, silicone O-rings, and soft rubber parts, use separate treatment and model-specific instructions. Alcohol compatibility is not universal, so a solvent safe for glass may not be safe for every seal. The guide to why vaporizer replacement parts leak fits this maintenance workflow when you are checking seals and replacement connections.
Why repeated gentle passes beat aggressive scraping
Fast removal can look attractive when resin has hardened, but extended soaking may affect incompatible materials, while scraping can deform a screen or leave scratches that collect more residue. Make several light passes, inspect the result, and dry the area between treatments when needed.
What works
- Light pressure: Use a soft brush or cotton swab to loosen residue without widening or scratching the airway.
- Material separation: Treat glass, metal, silicone, rubber, and screens according to their own care limits.
- Airflow checks: Test a cool, dry mouthpiece with a gentle draw after reassembly.
- Controlled moisture: Keep tools barely damp around fixed parts so you do not flood the device.
What fails
- Forced tools: A pick pushed into resistance can damage a screen or push resin farther inside.
- Universal soaking: Alcohol or prolonged soaking may harm silicone, rubber, adhesives, or finished surfaces.
- Wet reassembly: Trapped liquid can affect airflow and carry residue into the vapor path.
- Repeated force: More pressure will not make an incompatible or inaccessible component safer to clean.
When a replacement part is the sensible option
Set a stopping rule before you keep working. If airflow remains blocked after careful brushing and swabbing, or if a removable screen or mouthpiece is cracked, warped, or damaged, replacement may be safer than force.
Replacement mouthpieces and screens are practical maintenance options for some vaporizers. Confirm the exact model and connection before ordering, then install the part only after checking that every seal sits correctly. Good maintenance preserves your device, not merely removes residue.
Use the Symptom, Cause, and First Fix Table Before Repeating the Clean
A mouthpiece can look clean while your vaporizer still behaves differently. You may notice a chemical taste, reduced airflow, moisture, or a loose fit after reassembly. Those signs usually point to one missed step, not a need for more force.
Start with the symptom, isolate the likely cause, and take the smallest safe corrective action. This protects the device while helping you avoid repeating a clean that has already introduced the problem.
| symptom | likely cause | first fix |
|---|---|---|
| Chemical taste | Cleaning solution residue remained on a component or the part was not fully rinsed and dried. | Stop use, rinse or wipe the compatible removable part according to the instructions, and dry it completely before reassembly. |
| Weak airflow | Resin remains in a narrow channel, or a screen or mouthpiece is not seated correctly. | Inspect the channel and screen, make a gentle cleaning pass, and confirm the parts return to their original positions. |
| Condensation or moisture | Parts were reassembled damp or liquid reached an internal area. | Power down, separate safe removable parts, and allow everything to dry fully before checking the manufacturer’s guidance. |
| Loose mouthpiece | An O-ring or seal is misplaced, dirty, damaged, or not seated in its groove. | Power down and inspect the seal; clean, reposition, or replace it only as the manufacturer allows. |
| Device performs abnormally | Liquid may have reached electronics, or moisture remains inside the device. | Stop using it, do not flood or power-cycle it, let it dry, and follow the manufacturer’s support instructions. |
Solvent taste or unusual flavour
A chemical taste after cleaning usually means residue remains on a removable component, or you reassembled the part before it dried fully. Stop using your vaporizer rather than masking the taste with a hotter setting.
Remove only parts that your device allows you to remove safely. Rinse or wipe compatible pieces as directed, then let them dry completely before checking the flavour again.
Weak draw after cleaning
Weak airflow often comes from resin left in a narrow channel. It can also mean a screen or mouthpiece shifted during cleaning and now blocks the air path.
Inspect the channel and screen under good light. Make one gentle cleaning pass, then confirm each component returns to its original position. Don’t scrape harder by default.
Loose fit, leaking, or rattling parts
A loose mouthpiece may indicate a misplaced, dirty, damaged, or poorly seated O-ring. Leaking or rattling parts deserve the same pause because a seal may no longer be sitting in its groove.
- Check the seal: Power down and inspect the O-ring without stretching or forcing it.
- Confirm the groove: Reposition the seal only if the manufacturer permits removal.
- Replace damage: Use a correct replacement if the seal is cracked, flattened, or loose.
Device trouble after liquid contact
Condensation, visible moisture, or abnormal performance means your device may still be wet internally. Stop use, separate safe removable parts, and never power on or power-cycle a wet device.
Allow everything to dry fully, then check the manufacturer’s guidance before testing it. If the problem remains after correct drying and reassembly, consult support or consider a correctly matched replacement part. Diagnose again before repeating the clean.
Start Today With the Five-Step Mouthpiece Reset
The next clean is simpler when you stop treating every mouthpiece the same. Before touching residue, check whether your part is glass, metal, silicone, plastic, or a fixed electronic assembly, then confirm what the device manual permits.
You don’t need force or harsh solvent. A controlled reset protects seals, screens, finishes, and the device itself.
1. Identify the material and access route
Start with the mouthpiece attached to your specific PlanetHaze vaporizer. Check the manual for its material, removal instructions, and approved cleaning products. If the mouthpiece does not detach, treat it as fixed and never immerse the powered assembly or its connected electronics.
- Material: Confirm whether the part is glass, metal, silicone, plastic, or an electronic assembly.
- Access: Verify whether the mouthpiece, screen, O-ring, or airway insert is designed to come out.
- Power: Cool and power down the vaporizer before separating any removable component.
2. Clean the least aggressive way that works
Use warm soapy water only on surfaces the manufacturer identifies as compatible, then rinse those parts thoroughly. A manufacturer-approved cleaning solution is another option when the manual allows it. Solvent is conditional, not automatic. Keep it away from fixed mouthpieces, electronics, unknown plastics, silicone, seals, and painted finishes unless the instructions specifically approve it.
For a fixed mouthpiece, use a lightly dampened swab or cloth on accessible surfaces, never a soaking method. The goal is to loosen residue without pushing liquid into the device.
3. Dry, reassemble, and verify
Let every cleaned part dry fully before it returns to your vaporizer. Damp components do not belong on the device. Once dry, reinstall each part gently and check that the seal, O-rings, and screens sit correctly without twisting or pinching.
- Identify: Match the material and access route to your manual.
- Cool and separate: Power down, let the device cool, and remove only approved parts.
- Clean compatible surfaces: Use warm soapy water or approved solution only where permitted.
- Dry completely: Keep every part off the device until no moisture remains.
- Verify: Confirm the seal is secure, screens and O-rings are seated, and airflow is clear.
Open the manufacturer’s cleaning page for your specific PlanetHaze vaporizer and identify the mouthpiece material before you begin. That check prevents the costliest mistake: using a method suited to glass or metal on silicone, plastic, or a fixed electronic assembly. PlanetHaze supports informed vaporizer and accessory care.
If you want a faster way to choose, maintain, and understand cannabis vaporizers, PlanetHaze offers vaporizers, dab devices, glassware, grinders, and accessories for adult consumers, with practical vaporizer care guidance available for your next maintenance decision.